How to add an MX record in LxAdmin
LxAdmin end-user series
11. How to add an MX record in LxAdmin
This tutorial assumes that you've already logged in to LxAdmin
Now let's learn how to add an MX record
1) Click Manage DNS
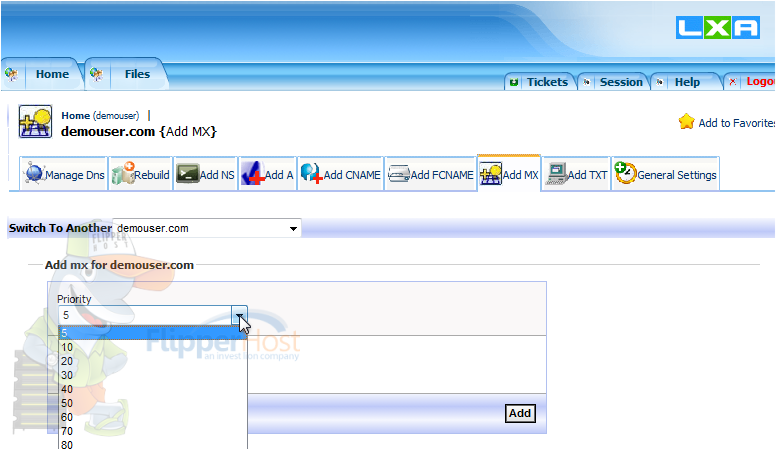
2) Click Add MX
3) Leave the first MX Record Priority at 5
4) Add the MX Value here
5) Once finished, click Add
You have added the first MX Record successfully. In order to recieve mail successfully, two MX Records are needed. Lets add another MX record now
6) Click here
7) Click Add MX
8) Click here to change the Priority
9) Select 10
10) Enter the Value here
11) Once finished, click Add
Scroll Down
You can view both MX Records below. It can take 24-48 hours before mails begins routing correctly.
This is the end of the tutorial. You now know how to add MX Records via Lxadmin Customer Panel


