How to download and install OpenCart
OpenCart series
1. How to download and install OpenCart
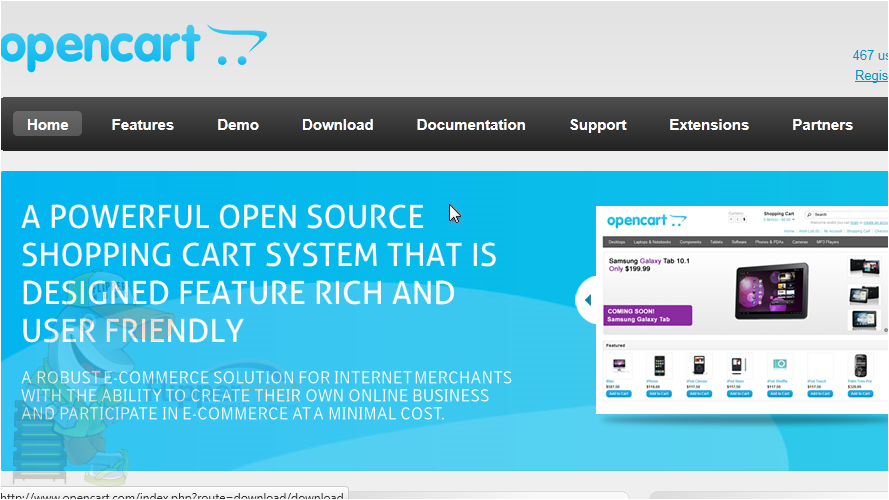
OpenCart is a free shopping cart system. Before you can begin installing it, you will need to go to http://www.opencart.com
1) Click Download.
2) Click Download next to the version you want. Unless you need an older version for some reason, you should always download the latest release.
3) Choose to Save the file and click OK.
4) Once the download has completed, browse to where the file is located and unzip the folder.
You will now need to upload the entire folder to your server. For this tutorial, we will use FileZilla.
You will need to enter the host name and your username and password, then browse to the folder where you want to upload OpenCart.
5) Double click the folder to open it.
6) Press Control + A to select the entire contents of the upload folder.
7) Now drag and drop the files into FileZilla.
8) Once all the files have been uploaded, go to your web browser and enter the address where you uploaded OpenCart.
Now, we will go through the steps to install OpenCart.
9) You must agree to the license conditions in order to install OpenCart.
10) Click Continue.
This page shows a list of your server's settings compared to the recommended. If any are red, you will need to fix them before proceeding.
11) Click Continue.
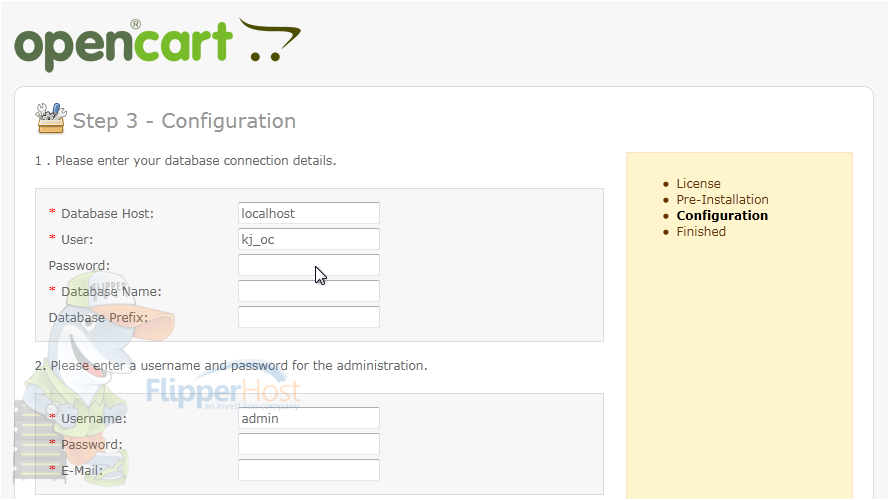
12) The database host is entered by default. If it is different than the information shown, you can change it now.
13) You will also need to create a database on the server before continuing.
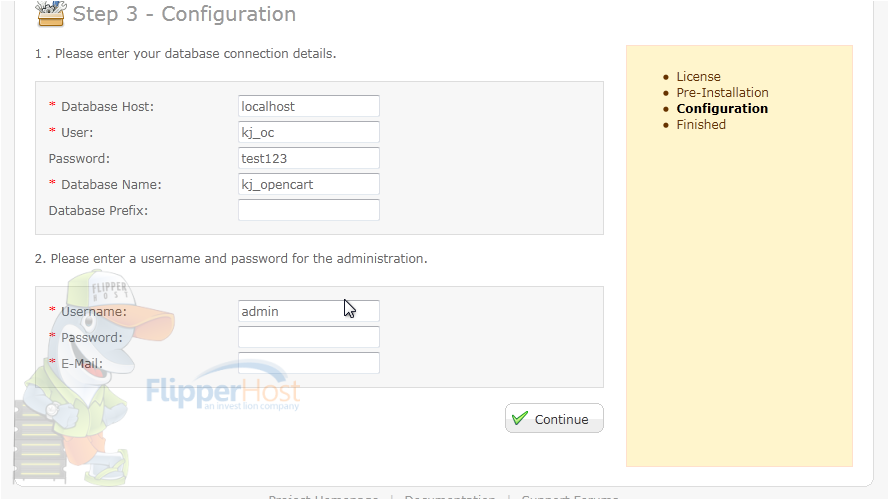
14) Enter the username, password, and database name you created.
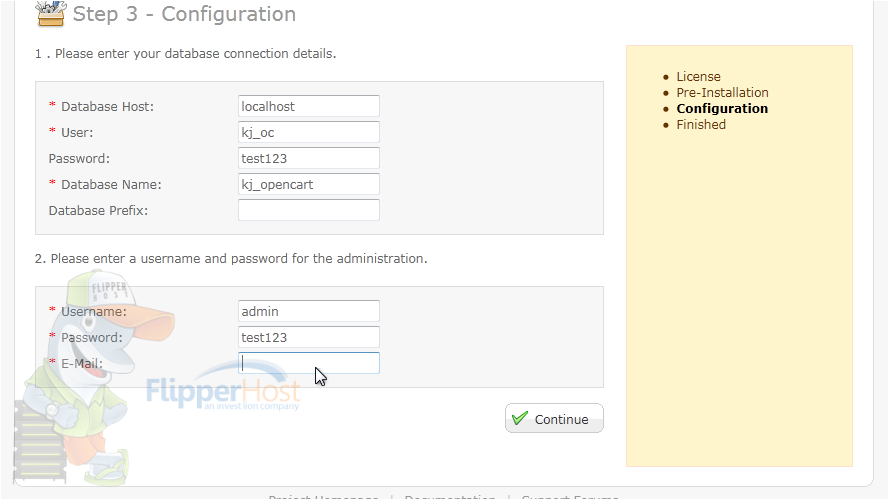
15) Type a password and e-mail address for the admin user.
16) Click Continue.
If you see this page, OpenCart has been successfully installed. You now have the choice to view your store front or go to the admin panel to begin setting up your store. Don't forget to delete or rename your installation directory.
That's it! Now you know how to download OpenCart and install it on your server.


